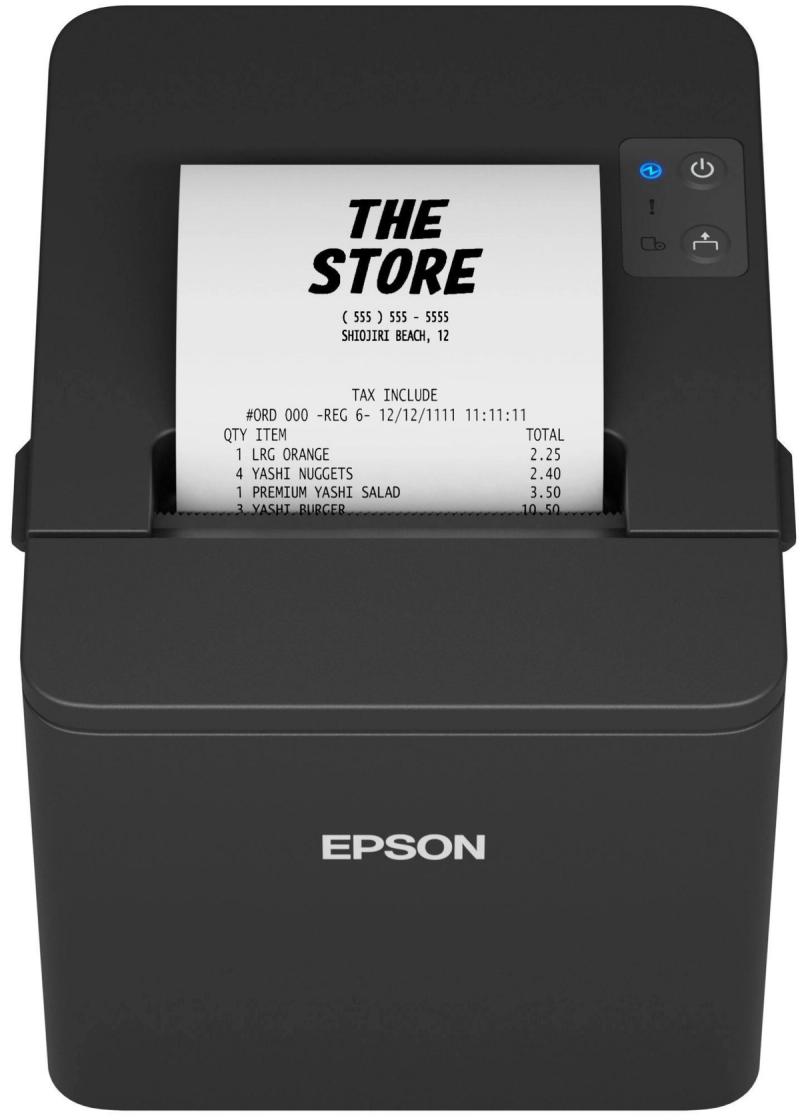
Faded receipts on an Epson TM-T20IV are nearly always a print-density mismatch with the paper stock — too low for the roll, or paper that needs more heat than the factory default. You can adjust density on the printer itself using only the feed button, without any drivers, software, or cables. The procedure below is for the TM-T20IV, but the same self-test menu structure exists on most Epson thermal POS printers (TM-T88, TM-m30, TM-L90), with different menu numbers.
Before you start
- A roll of the same paper stock you have a complaint about — the procedure prints several diagnostic pages.
- Confirm the receipts are actually fading at print time, not later (some cheap thermal paper darkens or fades over hours in heat or sun, which is a paper problem, not a density one).
- Note your current density before you change it. The procedure prints the current value on the menu page — write it down so you can revert if needed.
Step 1 — Print the printer settings page
- Turn the printer off.
- Hold the feed button down, then turn the printer back on while still holding feed. Keep the button held for about five seconds.
- The printer prints a settings page. At the bottom, look for the line that says MODE SELECTION and an instruction to press feed for longer than one second to enter it.

Step 2 — Enter Customization Mode
- Press and hold the feed button for longer than one second. The printer prints a Mode Selection list with options 0–4.

- To enter Customization Mode (where Print Density lives), tap the feed button 3 times in quick succession.
- Press and hold the feed button for longer than one second to confirm. The printer prints the Customize Value Settings menu.

Step 3 — Choose Print Density
- In the Customize Value Settings list (entries 0–18), Print Density is entry 2. Tap the feed button 2 times.
- Press and hold feed for longer than one second. The printer prints the Print Density menu — entries 0–7, with the current value marked.

Step 4 — Set the density and restart
- Tap the feed button as many times as the density level you want (1–7).
- Press and hold feed for longer than one second. The printer commits the change.

- Power-cycle the printer to leave Customization Mode cleanly. The new density is now active.
If the menu shows your current density already at 100%, that is the darkest the printer can drive — at that point the issue is the paper, not the printer.
If that didn't work
- If receipts are still faint at maximum density, the paper itself is the issue. Switch to a higher-grade thermal roll or one specifically rated for warmer storage.
- If the printer prints garbage instead of the menu pages, you've fed the rolls in backwards. Thermal paper has to be loaded shiny-side out — scratch the surface with a coin to confirm before reloading.
- If you set a density and receipts are now too dark, paper curls under the printhead, or the printer prints a line and stops — the heat is too high. Repeat the procedure and pick a lower density step.
- If the procedure works but receipts go faint again after a few weeks, it's likely thermal-head wear or contamination rather than density. Clean the thermal strip with a thermal-head cleaning pen or isopropyl alcohol on a cotton bud.
When to raise a ticket
If the printer won't enter Mode Selection at all (no settings page, no menus), the unit may have a damaged feed button or a corrupted firmware setting. Raise a ticket at /support/ticket with the printer model, serial number, and a short note describing what you've tried.